Before you get started, please be sure to always check out these documentation files. To install this theme you must have a working version of WordPress already installed and configured on your machine or server. For a detailed guide on installing WordPress, please visit the WordPress Codex installation documentation.
Important note: If using FileZilla as your FTP client, please make sure Binary transfer mode is used. To do this go to Transfer > Transfer mode and make sure Binary is selected.
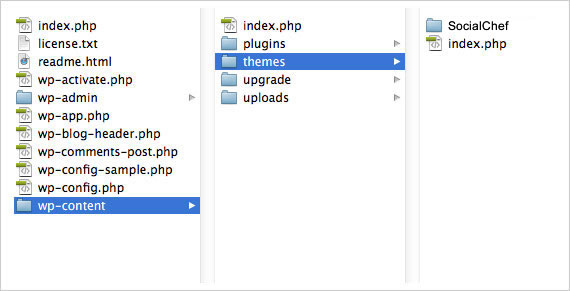
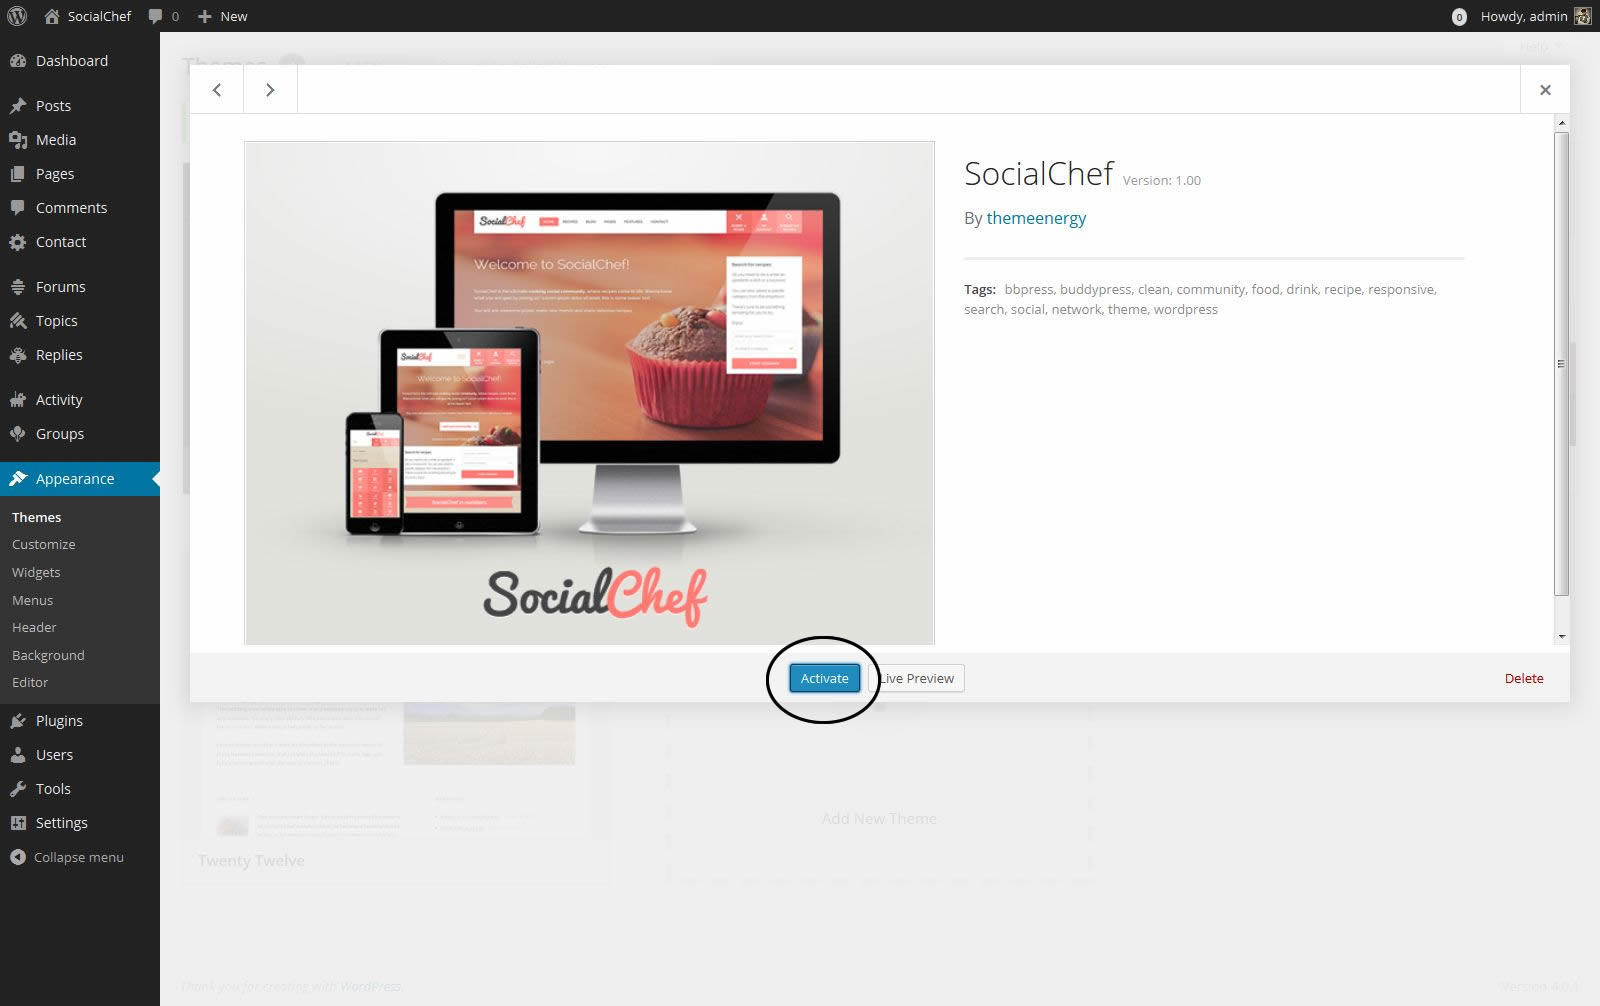
Once you have uploaded the theme, activate it in Appearance > Themes.
For further information about using WordPress themes, read the codex theme-usage documentation at codex.wordpress.org/Using_Themes.
In your downloaded file, locate the folder called SampleData.
Within this folder you will find your sample data file(s).

After the import is complete you should have all the posts, pages and custom posts from the demo.
There are certain things a WordPress import can not do, so after uploading the sample data make sure you do the following:
To upload your logo, navigate to Dashboard > Appearance > Customize > Site identity.
Prepare image file. It must be square, and at least 512 pixels wide and tall.
To change your websites colors, go to Dashboard > Appearance > Theme Options > General settings.
The SocialChef WordPress/BuddyPress theme comes with the following custom page templates. If you have skipped sample data import, we advise you to create each page, for a complete experience of the theme:
In addition, the SocialChef WordPress/BuddyPress theme provides the following single post templates:
By default, WordPress shows the blog index page (index.php) with a list of blog posts in your blog as your home page.
To display the SocialChef custom home page, please create a new page using the SocialChef Home custom page template. To do this go to Pages > New Page in your WordPress admin dashboard, enter a title, select SocialChef Home from the templates dropdown and click Publish.
Once done, go to Settings > Reading while still in the admin dashboard and under "Front page displays" select "A static page" and select your newly created home page from the dropdown.
The SocialChef home page is completely widgetized. As such, it allows you to dynamically add widgets to its sidebars through the Appearance > Widgets admin section. The sidebars used on the SocialChef home page are main, featured content and main content and are described in section later on in this text.

To get your home page to look like our demo website, simply add Featured recipe and Featured member widgets to the Featured content sidebar, Recipe list and Post list widgets to the main content sidebar and populate the Intro sidebar with content too.
Please create this page by going to Pages > Add New in your WordPress admin dashboard. Enter a title of your choice and select Custom search page from the Template dropdown.
Please create this page by going to Pages > Add New in your WordPress admin dashboard. Enter a title of your choice and select Contact Us from the Template dropdown. Once you do this, add this newly created Contact Us page to your menus... Adding pages to menus is further explained in the Menus section of this document.
If you wish for your site to have a Blog sub page, you can create a Blog index subpage by going to Pages > Add New in your WordPress admin dashboard. Enter a title of your choice and select Blog from the Template dropdown. Once you do this, the only other thing you need to do is add this newly created Blog page to your menus.
The Login template allows you to create a custom login page for your website. Go to Pages > Add New in your WordPress admin dashboard. Enter a title of your choice and select Login from the Template dropdown. Once you do this, add this newly created Login page to your menus.
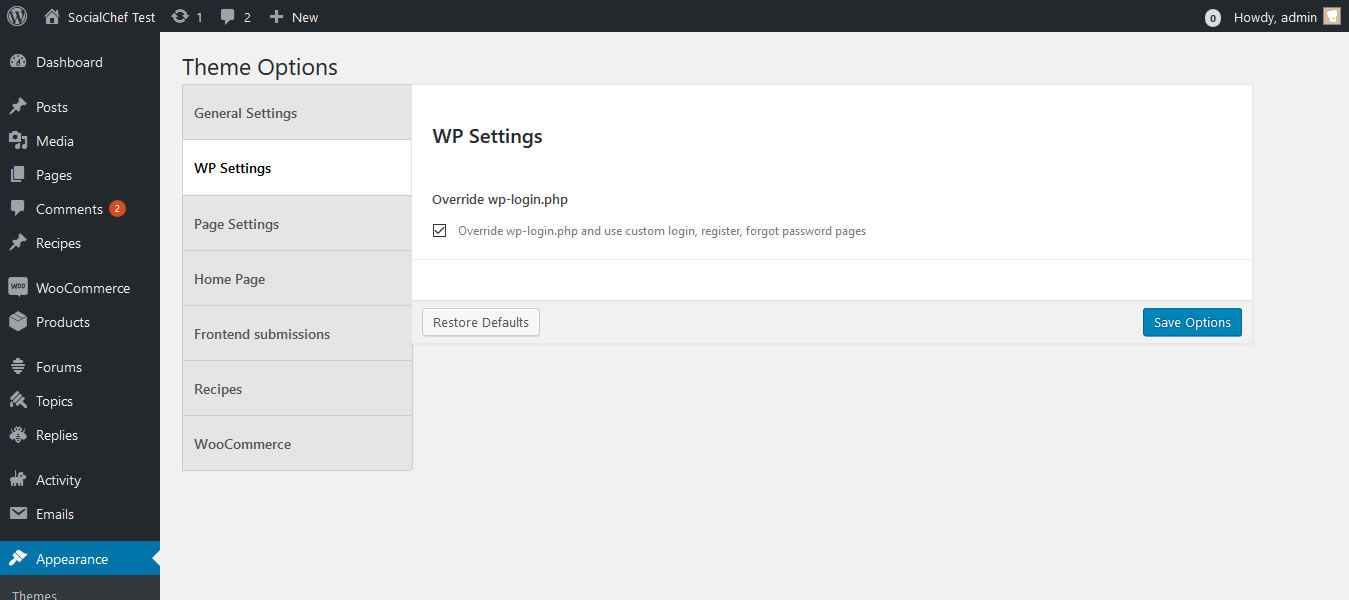
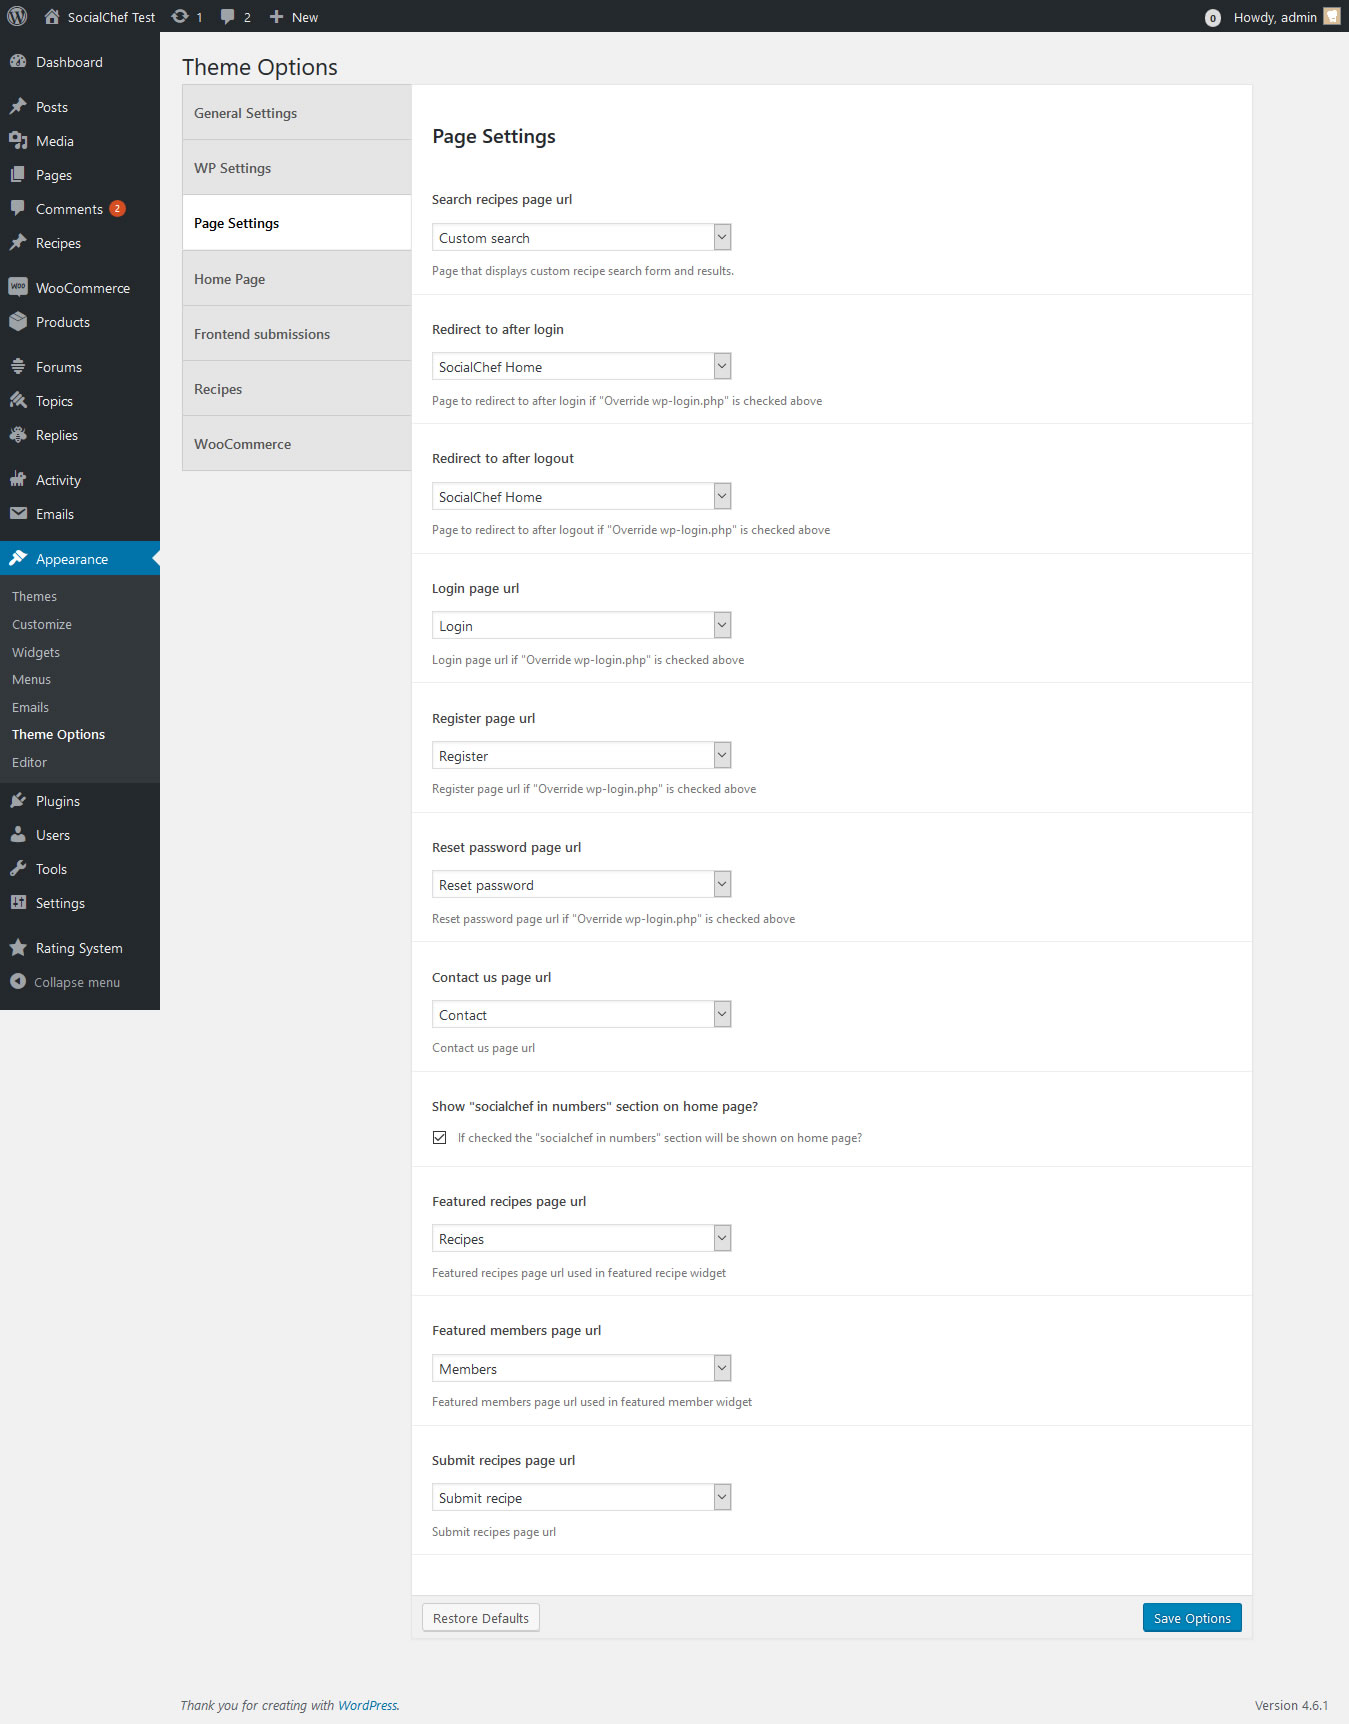
You can further configure the behaviour of your website with regards the Login process by going to Appearance > Theme Options and accessing the WP Settings tab. You can completely override the WordPress default wp-login.php page. You also have to select your newly created Login page under the Login page url option in the Theme options > Page settings section for this to work properly. Make sure you click Save Options button before leaving this section.
Similar to the above Login page, you should create the Register and Reset Password pages. For the pages to be fully functional, you must select them under the Page Settings tab of Appearance > Theme Options and hit the Save Options button.
The Page with both sidebars allows you to create a website page with both right and left sidebar displayed. Go to Pages > Add New in your WordPress admin dashboard. Enter a title of your choice and select Page with both sidebars from the Template dropdown. Once you do this, add this newly created Page with both sidebars page to your menus.
The Page with left sidebar allows you to create a website page with left sidebar displayed. Go to Pages > Add New in your WordPress admin dashboard. Enter a title of your choice and select Page with left sidebar from the Template dropdown. Once you do this, add this newly created Page with left sidebar page to your menus.
The Page with left sidebar allows you to create a website page with right sidebar displayed. Go to Pages > Add New in your WordPress admin dashboard. Enter a title of your choice and select Page with right sidebar from the Template dropdown. Once you do this, add this newly created Page with right sidebar page to your menus.
The Page with both sidebars allows you to create a website page with not sidebars displayed. Go to Pages > Add New in your WordPress admin dashboard. Enter a title of your choice and select Page with no sidebars from the Template dropdown. Once you do this, add this newly created Page with no sidebars page to your menus.
The single recipe template is utilized implicitly by WordPress when you create recipe data in the WordPress administration dashboard. You create a new recipe by going to Recipes > Add New Recipe section or via the frontend submit recipe interface. The recipe datatype is further explained in the section labeled Recipes.
The single blog post template is utilized by WordPress implicitly when you create a new blog post. You create a new blog post by going to Posts > New post.
The Recipe list template allows you to create lists of recipes. Once you create Pages by going to Pages > Add New and selecting an appropriate template, you can add them to the primary menu as explained earlier. Also, once you hit the publish button, further options to filter recipes that are displayed on this newly created page will appear in the meta boxes section of the page.
The submit recipe template allows you to create a front end submit page for your members to submit their own recipes. Once you create the new page by going to Pages > Add New and selecting the appropriate template, add this newly created Page to your menus.
To make full use of the rich set of features provided by the SocialChef WordPress / BuddyPress theme, you must configure the theme options.
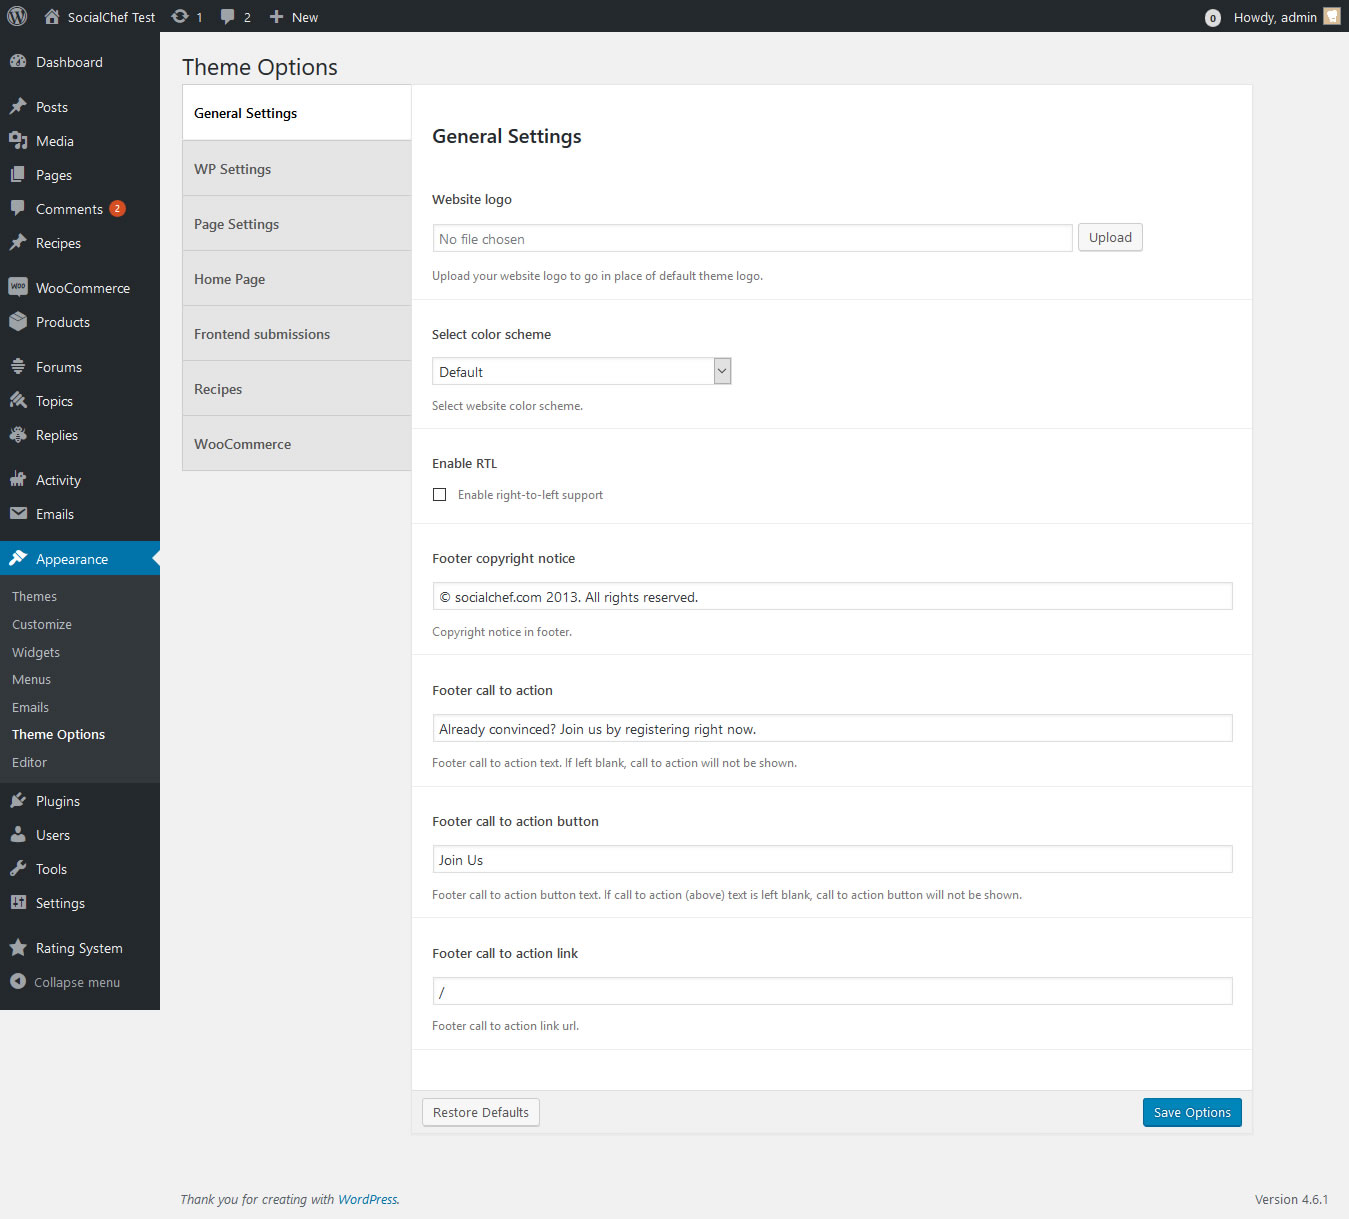
To begin configuring theme options, go to Appearance > Theme Options.
The general settings tab allows you to upload your custom logo, enable RTL support and to select the theme color scheme.
The enable RTL option allows you to enable right-to-left language support.
The WP Settings tab allows you to customize the following general WordPress features:
Override wp-login.php and use custom login, register, forgot password pages instead.
Here you link to various pages that you create for specific purposes (login, register, reset password, search etc). These pages must first be created by you via the Pages section.
You can therefore configure the following pages to be used across the theme:
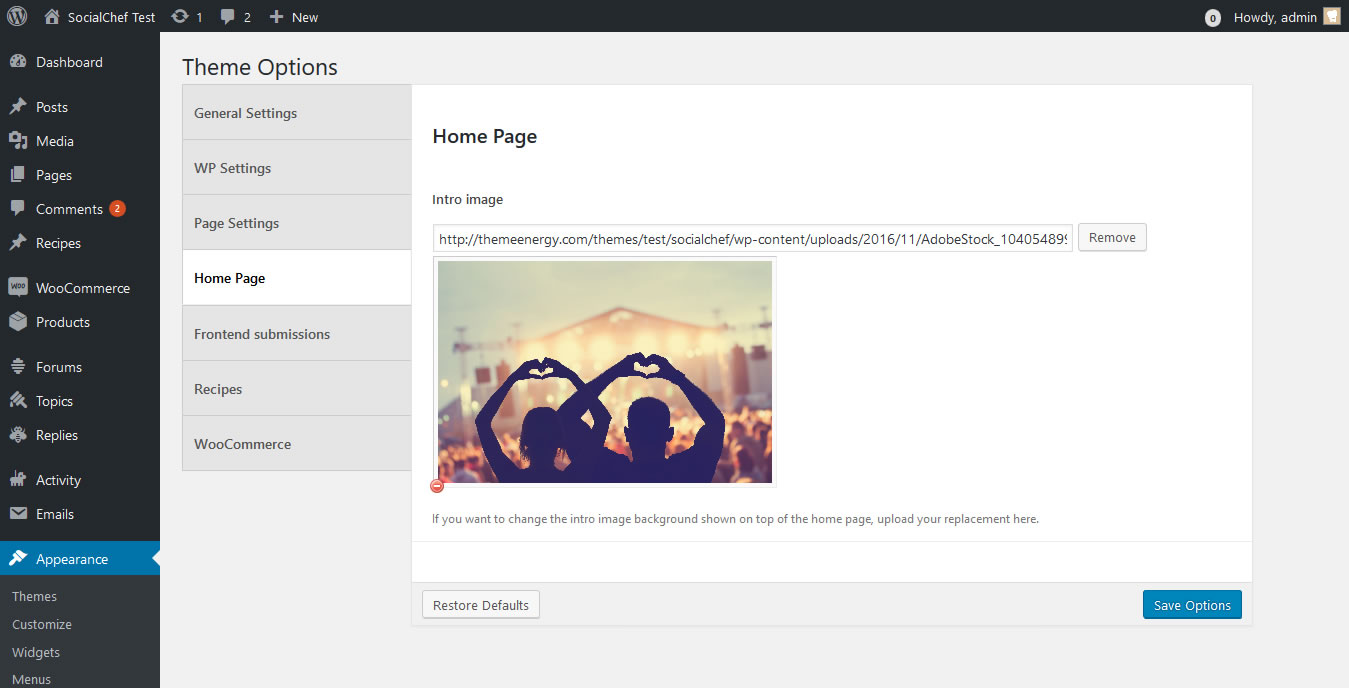
The home page tab allows you to indicate the image you want to use as the background of the intro section on home page.
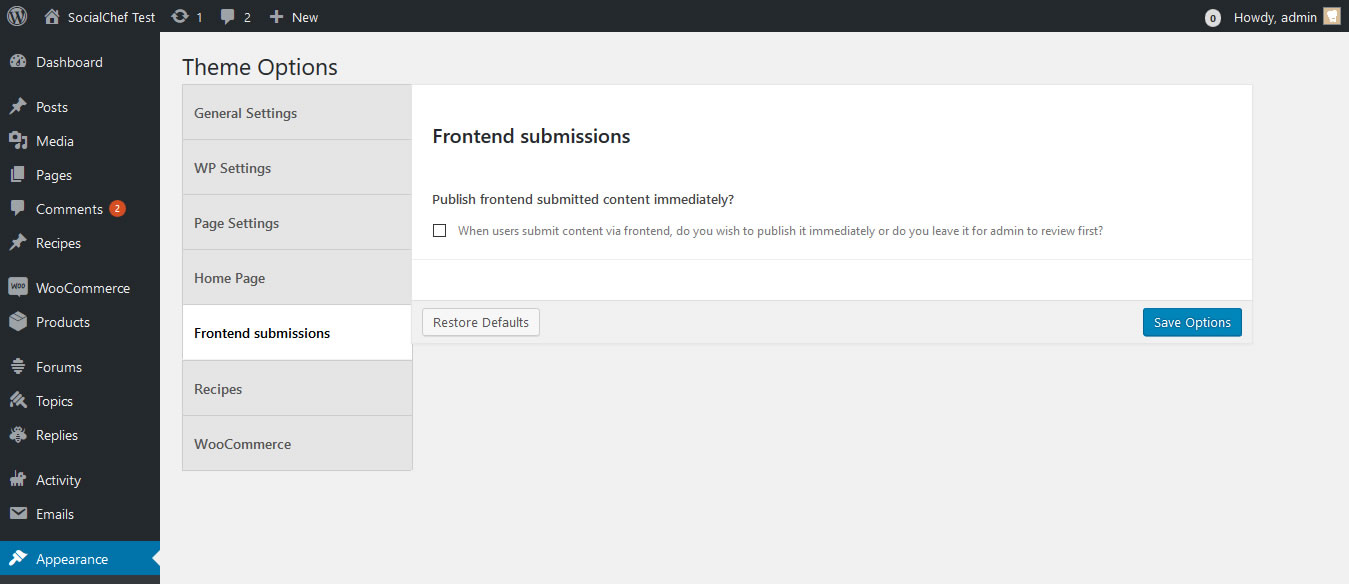
The front end submissions tab provides an option that allows you to specify whether recipe submissions (frontend) will be immediately published or left to admin to review before publishing.
Here you can configure the slug for single recipe, ingredients, meal course, recipe categories and set posts per page for recipe list pages.
You are also able to enable or disable use of nutritional elements, ingredients, instructions and other recipe meta across the website on this tab.
Additionally you are able to enable or disable use of fractional display of ingredient amount (if ingredients are enabled), as well as enable or disable separate images for each instruction (if instructions are enabled).
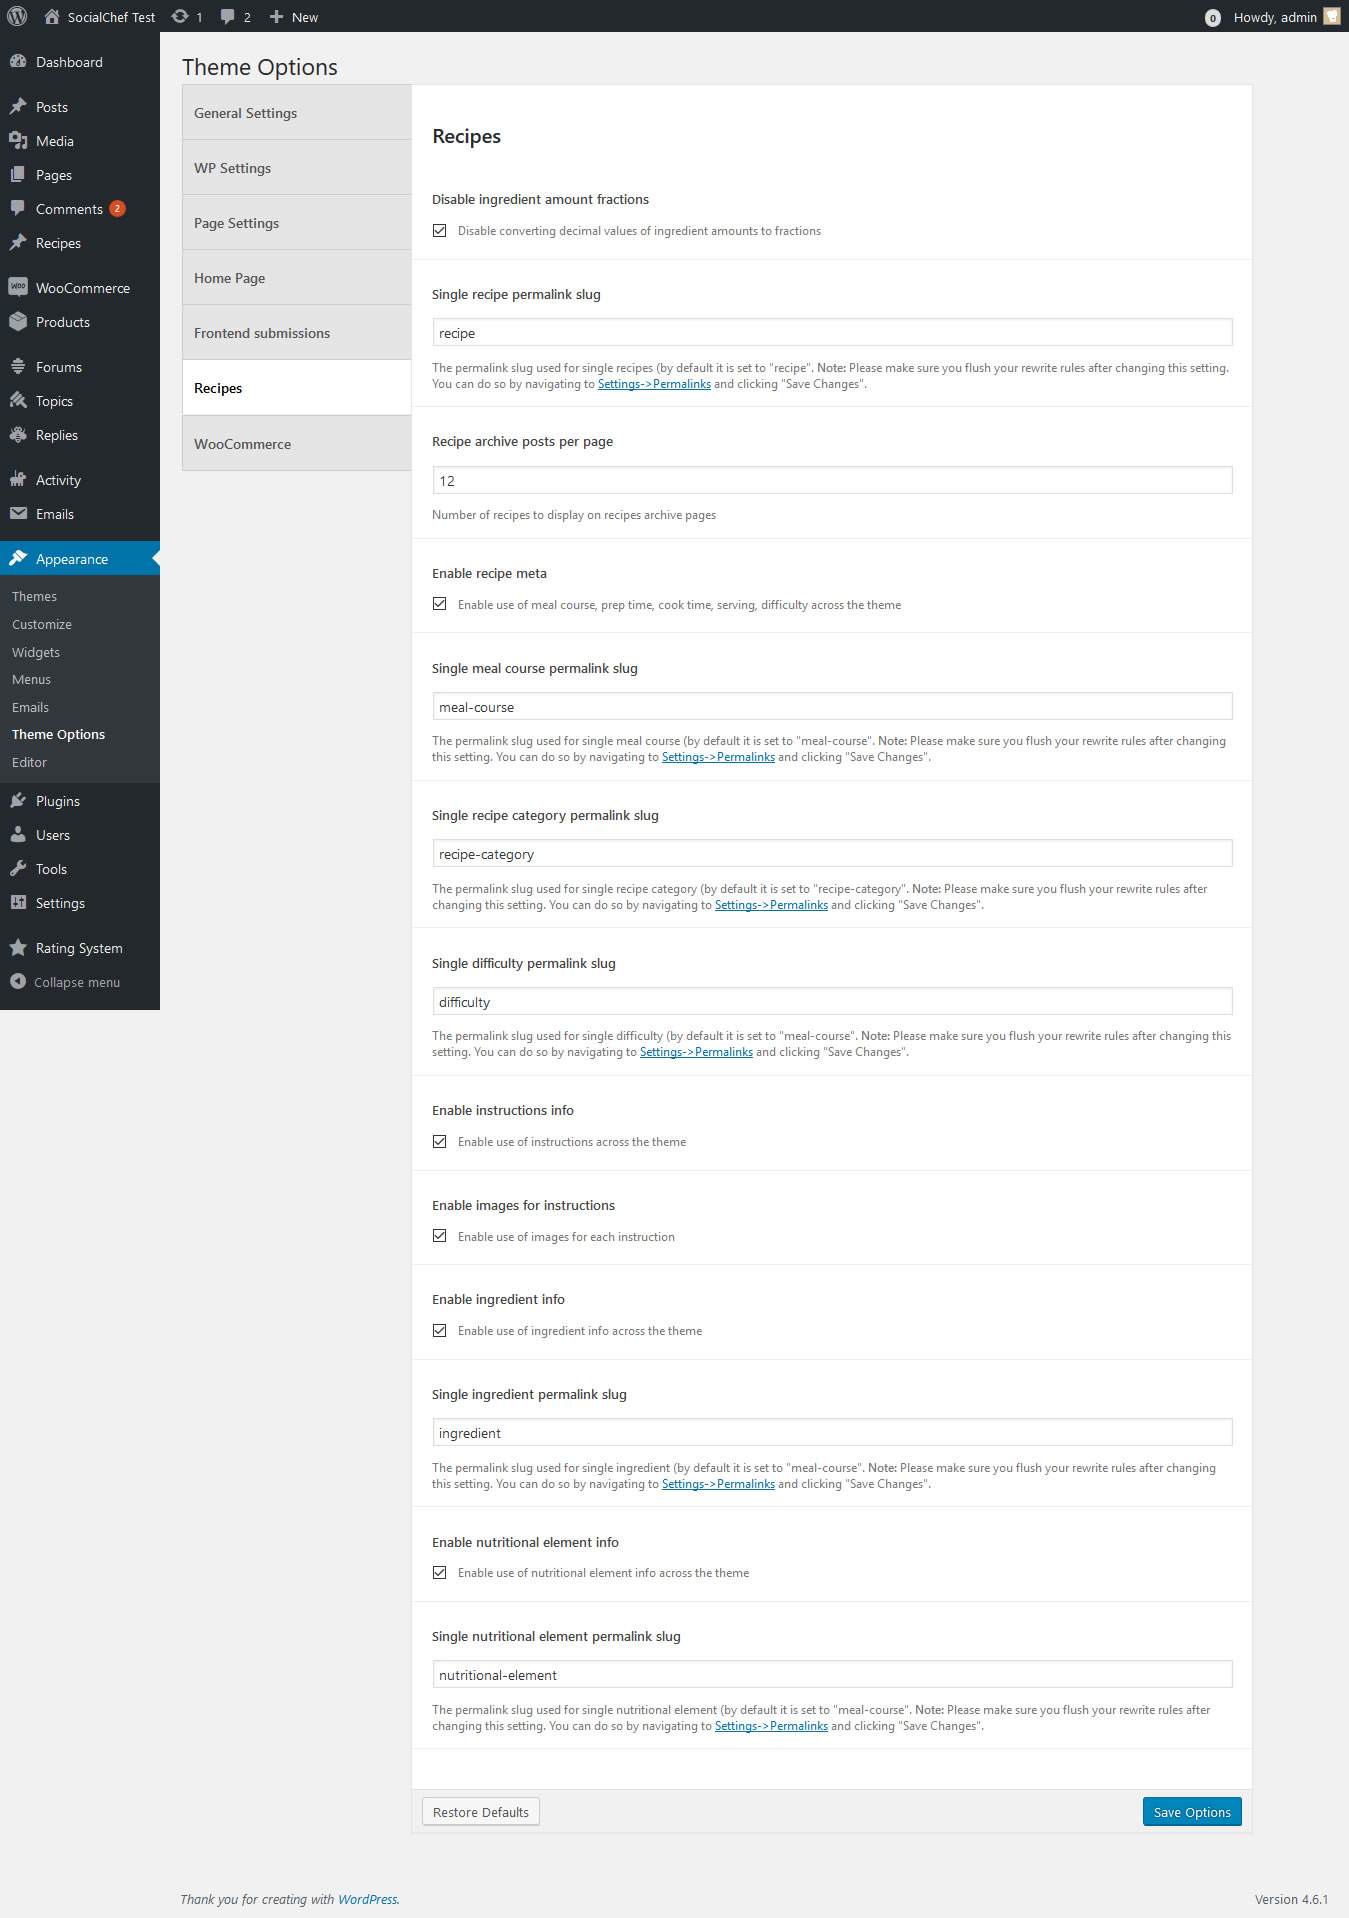
Note:You can enable/disable various sections of the recipes post type via Appearance -> Theme options -> Recipes.
Recipes make up the core of the functionality of the SocialChef WordPress/BuddyPress theme. It is therefore fundamental that you use this data correctly in order to make full use of the rich functionality of this theme.
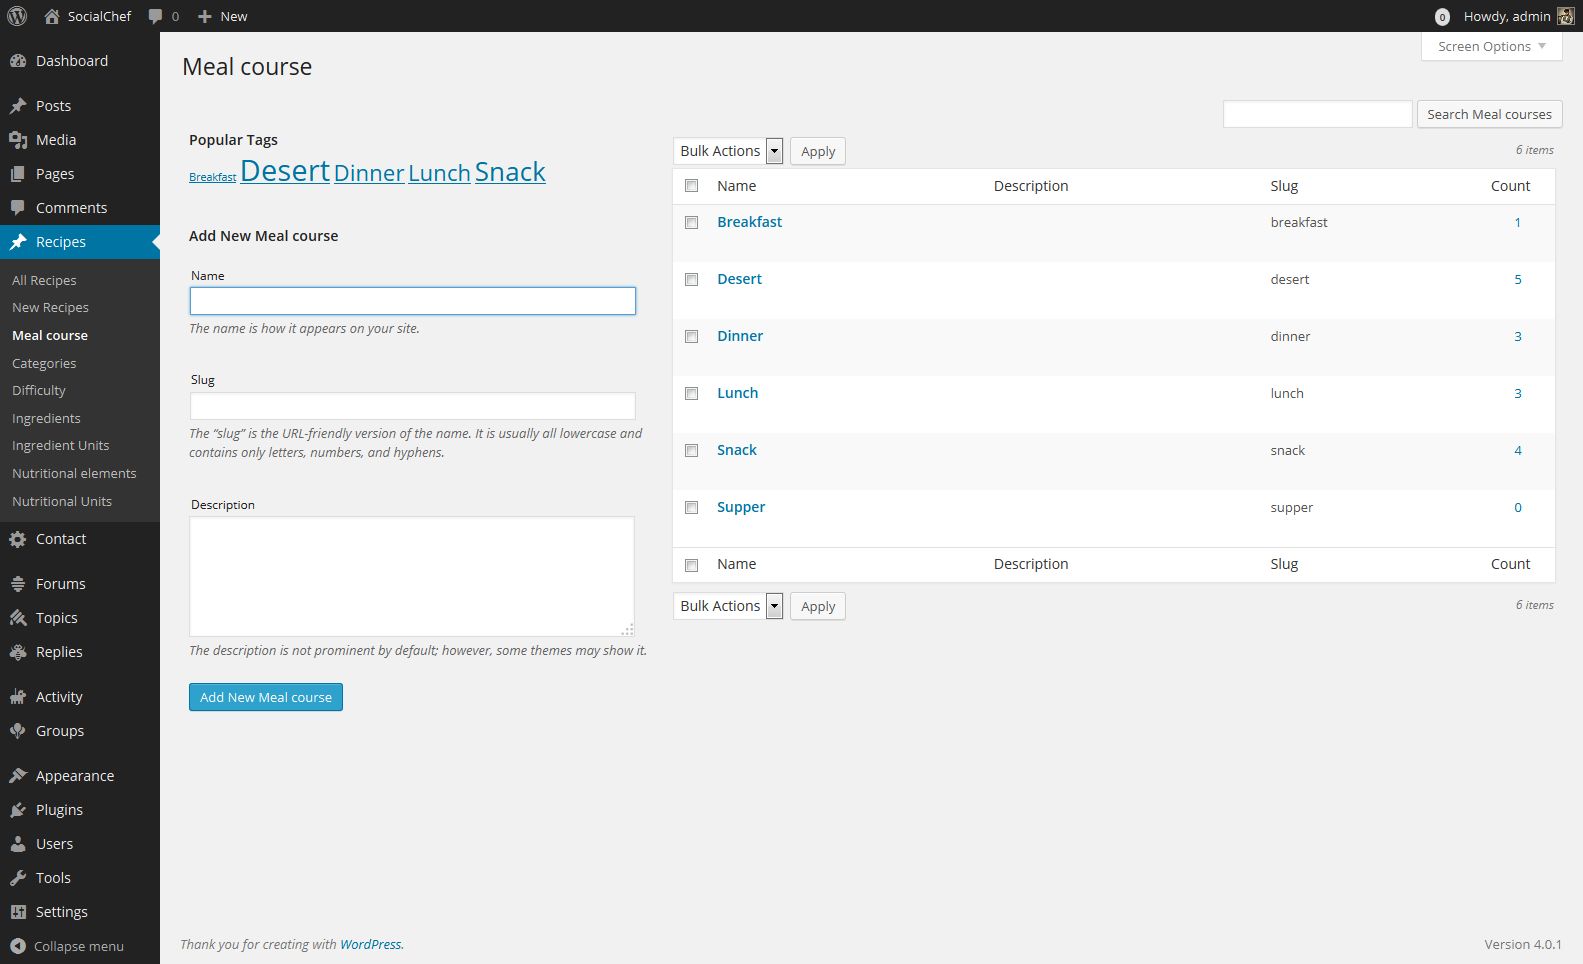
Recipes are dependent on meal course data. Meal courses are a custom taxonomy. Before entering Recipes make sure you at least have one meal course created. To add a new meal course go to Recipes > Meal courses. Once there fill in the form and hit the Add New Meal course button.
Examples of meal courses are appetizers, main courses, snacks, soups, entrees.
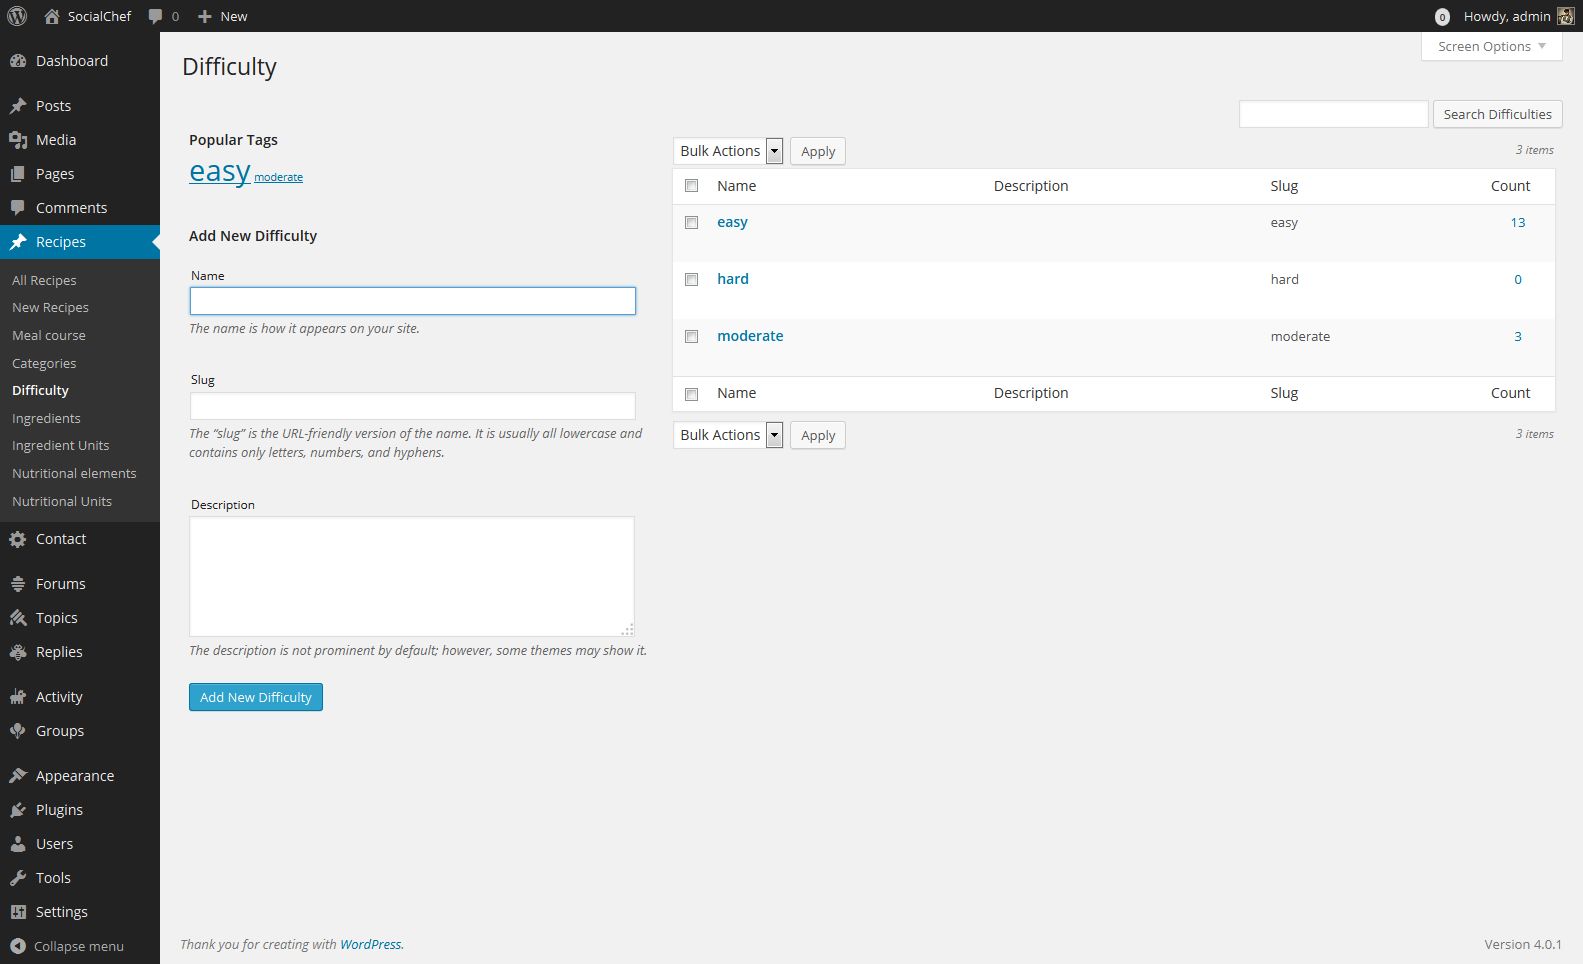
Recipes are dependent on difficulty data. Difficulties are a custom taxonomy. Before entering Recipes make sure you at least have one difficulty created. To add a new difficulty go to Recipes > Difficulties. Once there fill in the form and hit the Add New Difficulty button.
Examples of difficulties are easy, moderate, hard.
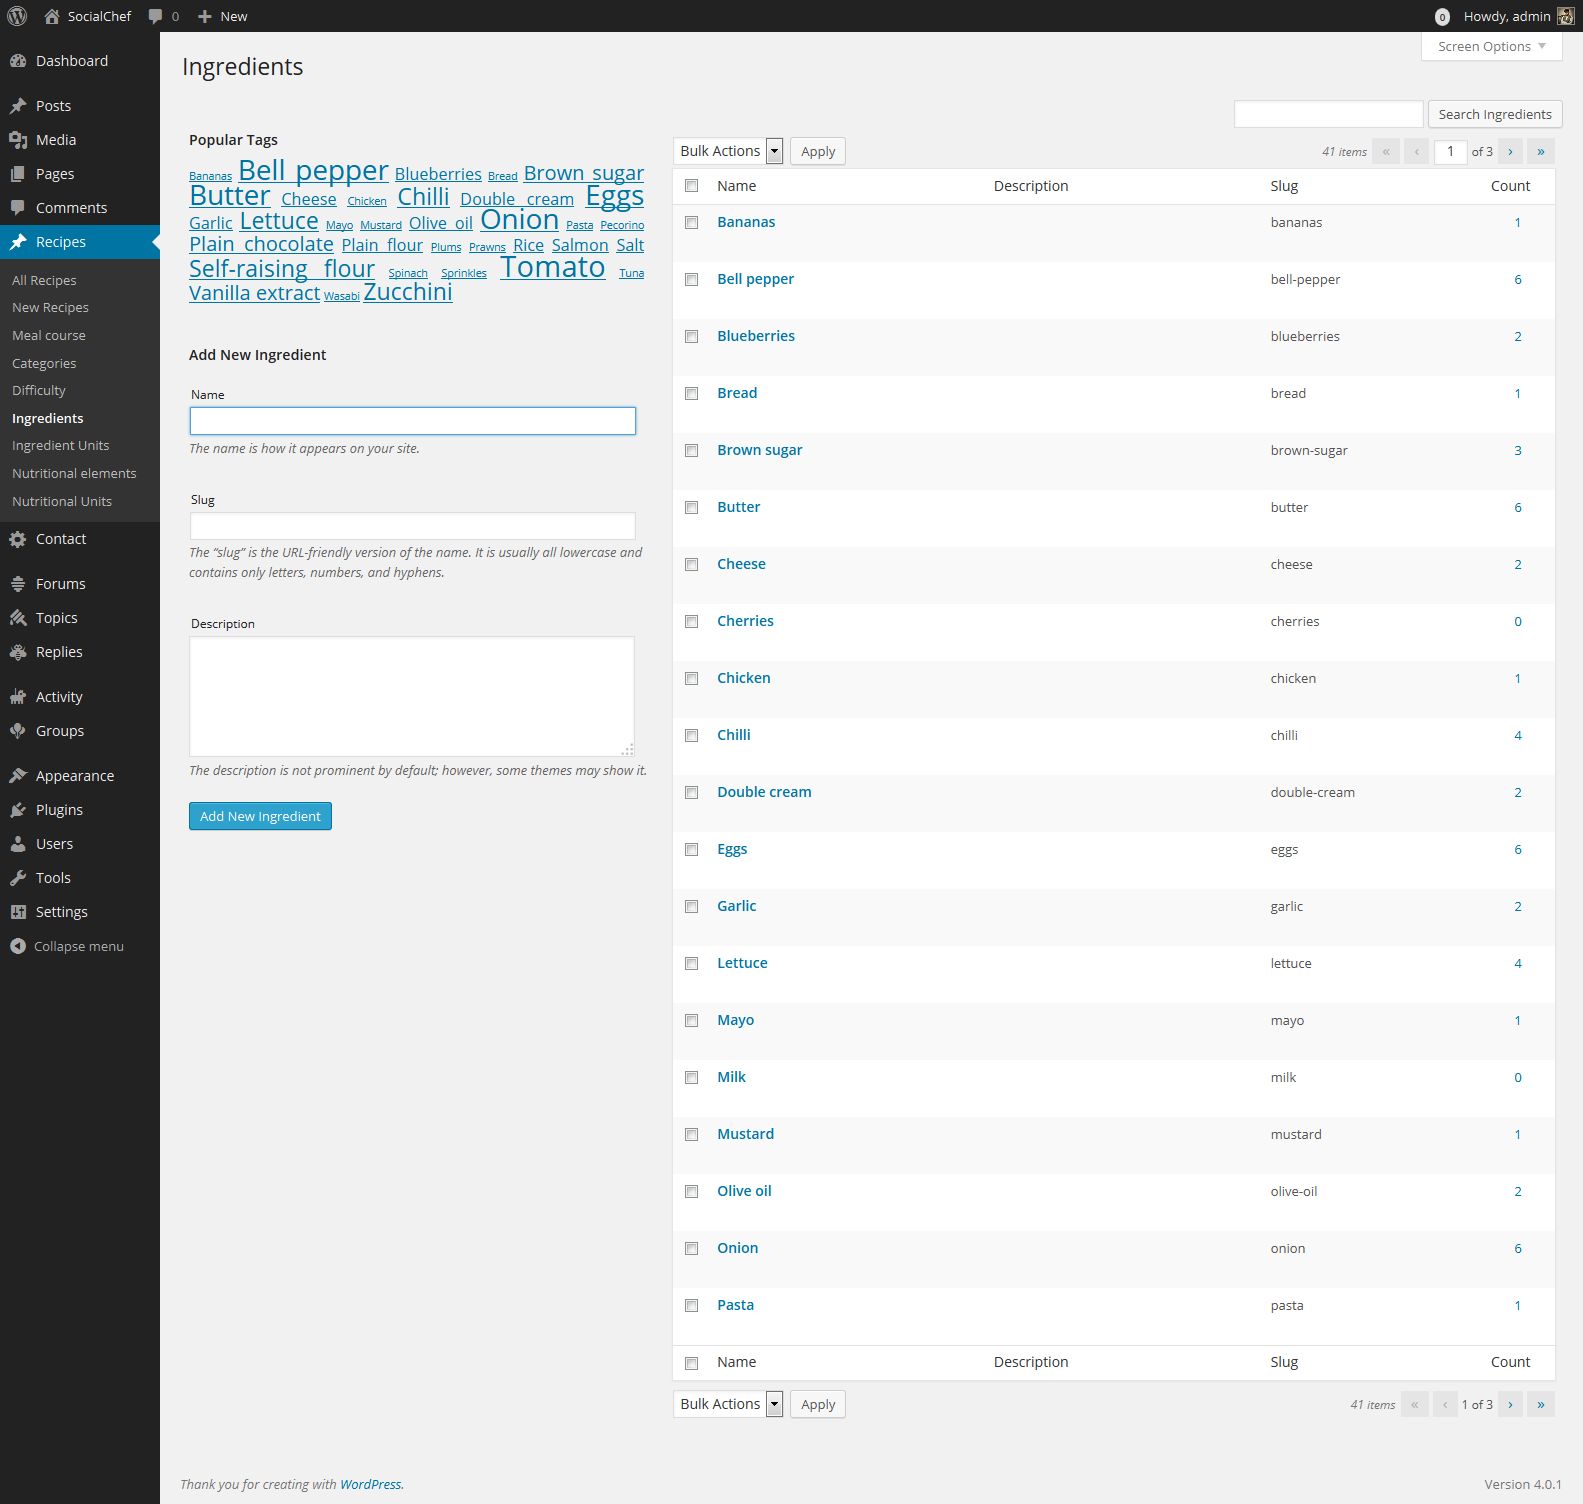
Recipes also use ingredient data. Ingredients are a custom taxonomy. To add a new ingredient go to Recipes > Ingredients. Once there, fill in the form and hit the Add New Ingredient button.
Examples of ingredients are butter, sugar, milk, coconut, potato.
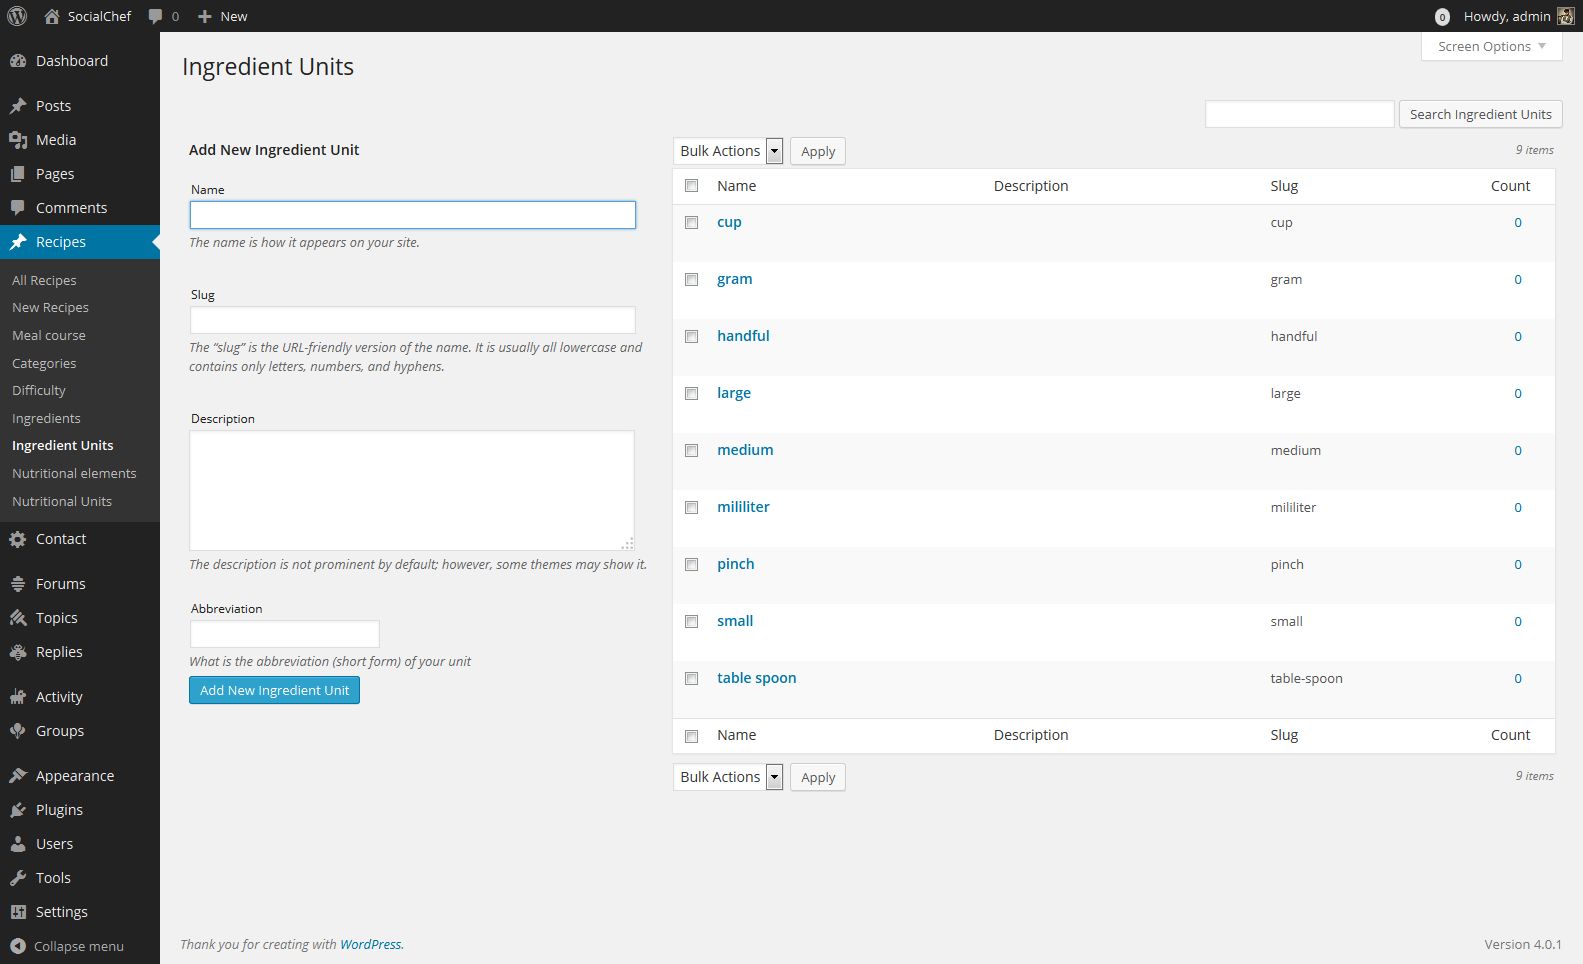
Before you can add Ingredients to recipes, you must create at least one Ingredient unit as well. To do so, please go to Recipes > Ingredient units and add an Ingredient unit. Examples of ingredient units are gram, liter, kilogram, pinch, piece, cup. Ingredient units have abbreviation fields too. Abbreviation examples are for gram: g, for liter: l, for centimeter: cm etc.
After you create Ingredients and Ingredient Units, you can proceed to enter ingredients when editing Recipes.
Note: Ingredient amounts are entered as decimal values e.g. 1.25 cups but are displayed in front end as fractional values e.g. 1 1/4 cups. Note:You can disable this behaviour in Theme options -> Recipes.
Recipes also use nutritional element data. Nutritional elements are a custom taxonomy. To add a new nutritional element go to Recipes > Nutritional elements. Once there, fill in the form and hit the Add New Nutritional element button.
Examples of nutritional elements are calories, protein, carbohydrate.
Nutritional elements can be enabled/disabled via the Theme options > Recipes tab. They are enabled by default.
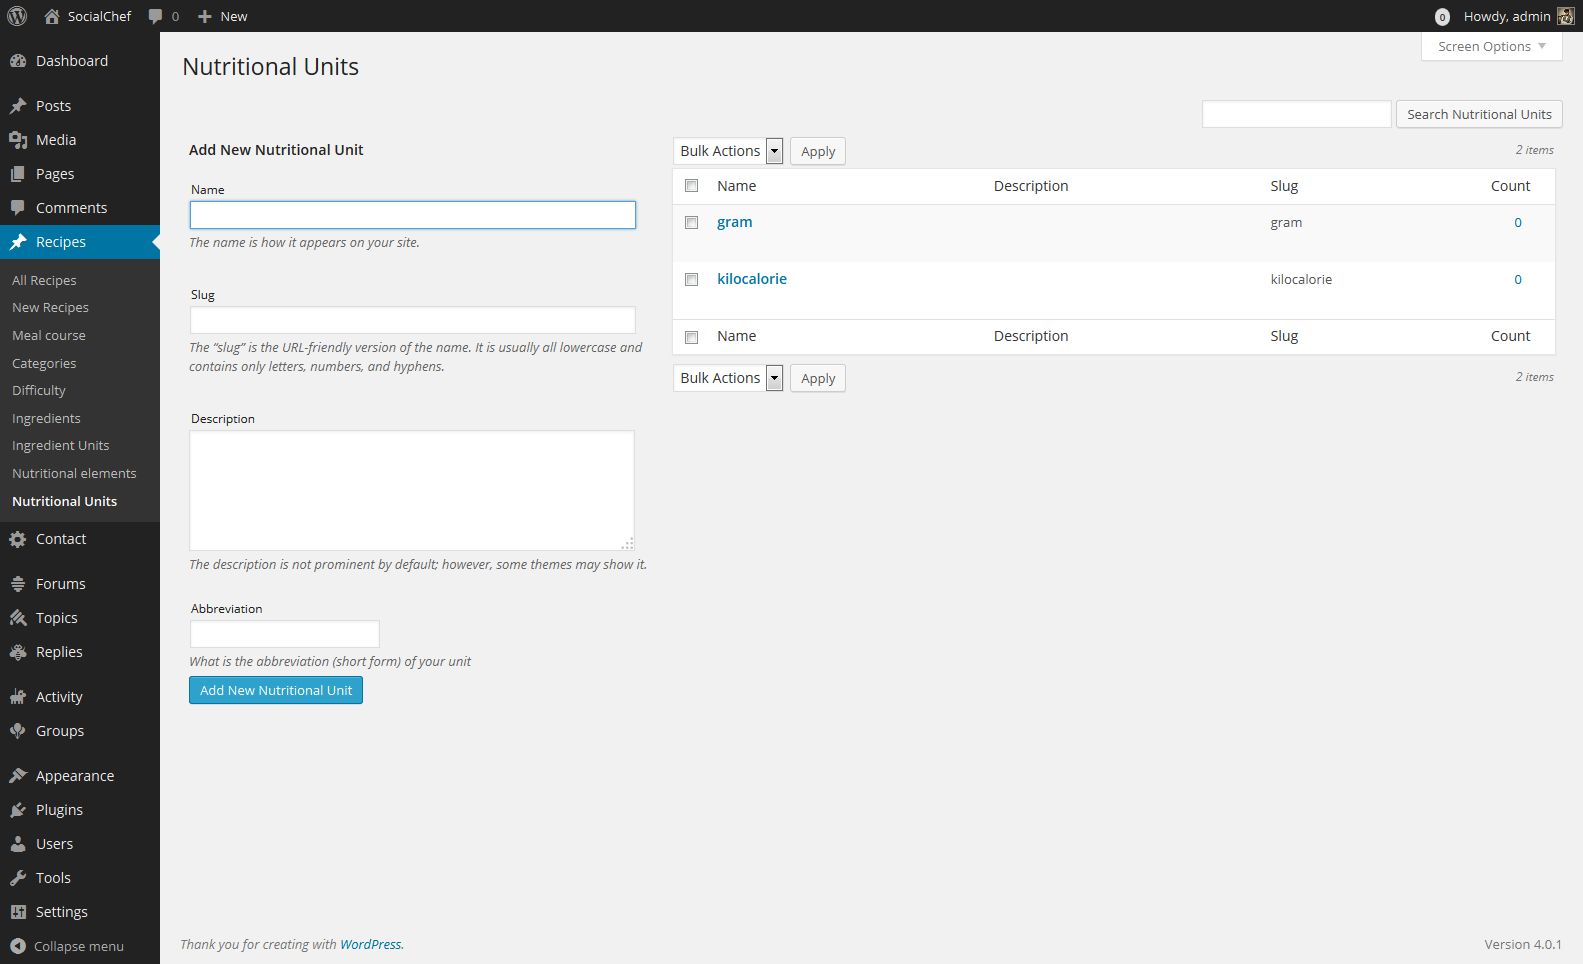
Before you can add Nutritional elements to recipes, you must create at least one Nutritional unit as well. To do so, please go to Recipes > Nutritional units and add an Nutritional unit. Examples of nutritional units are joule, kilojoule, calorie. Nutritional units have abbreviation fields too. Abbreviation examples are for joule: J, for calorie: cal etc.
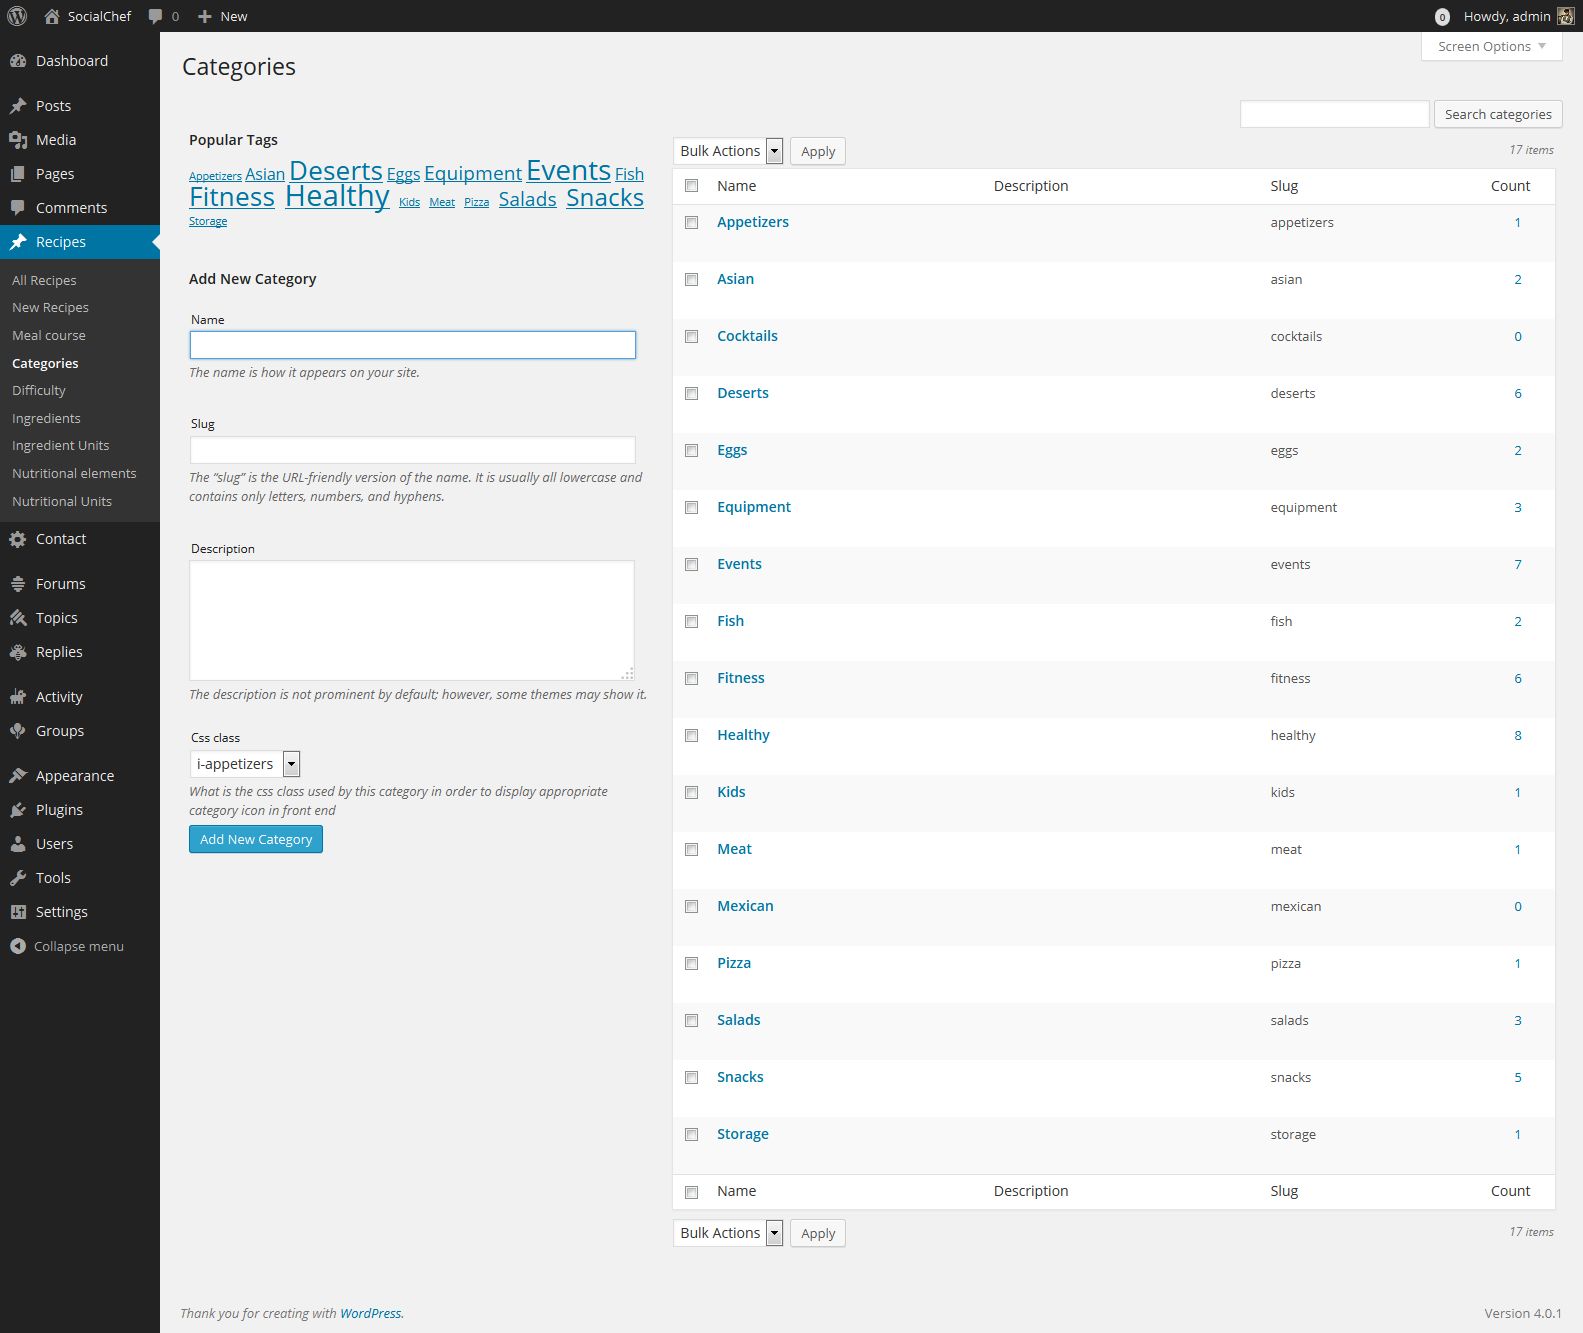
Recipes also use the recipe category data type. Recipe categories are a custom taxonomy. To add a new recipe category go to Recipes > Categories. Once there fill in the form and hit the Add New Category button.
Examples of recipe categories are Mexican, meat, vegetarian, vegan, Asian, Chinese, Indian.
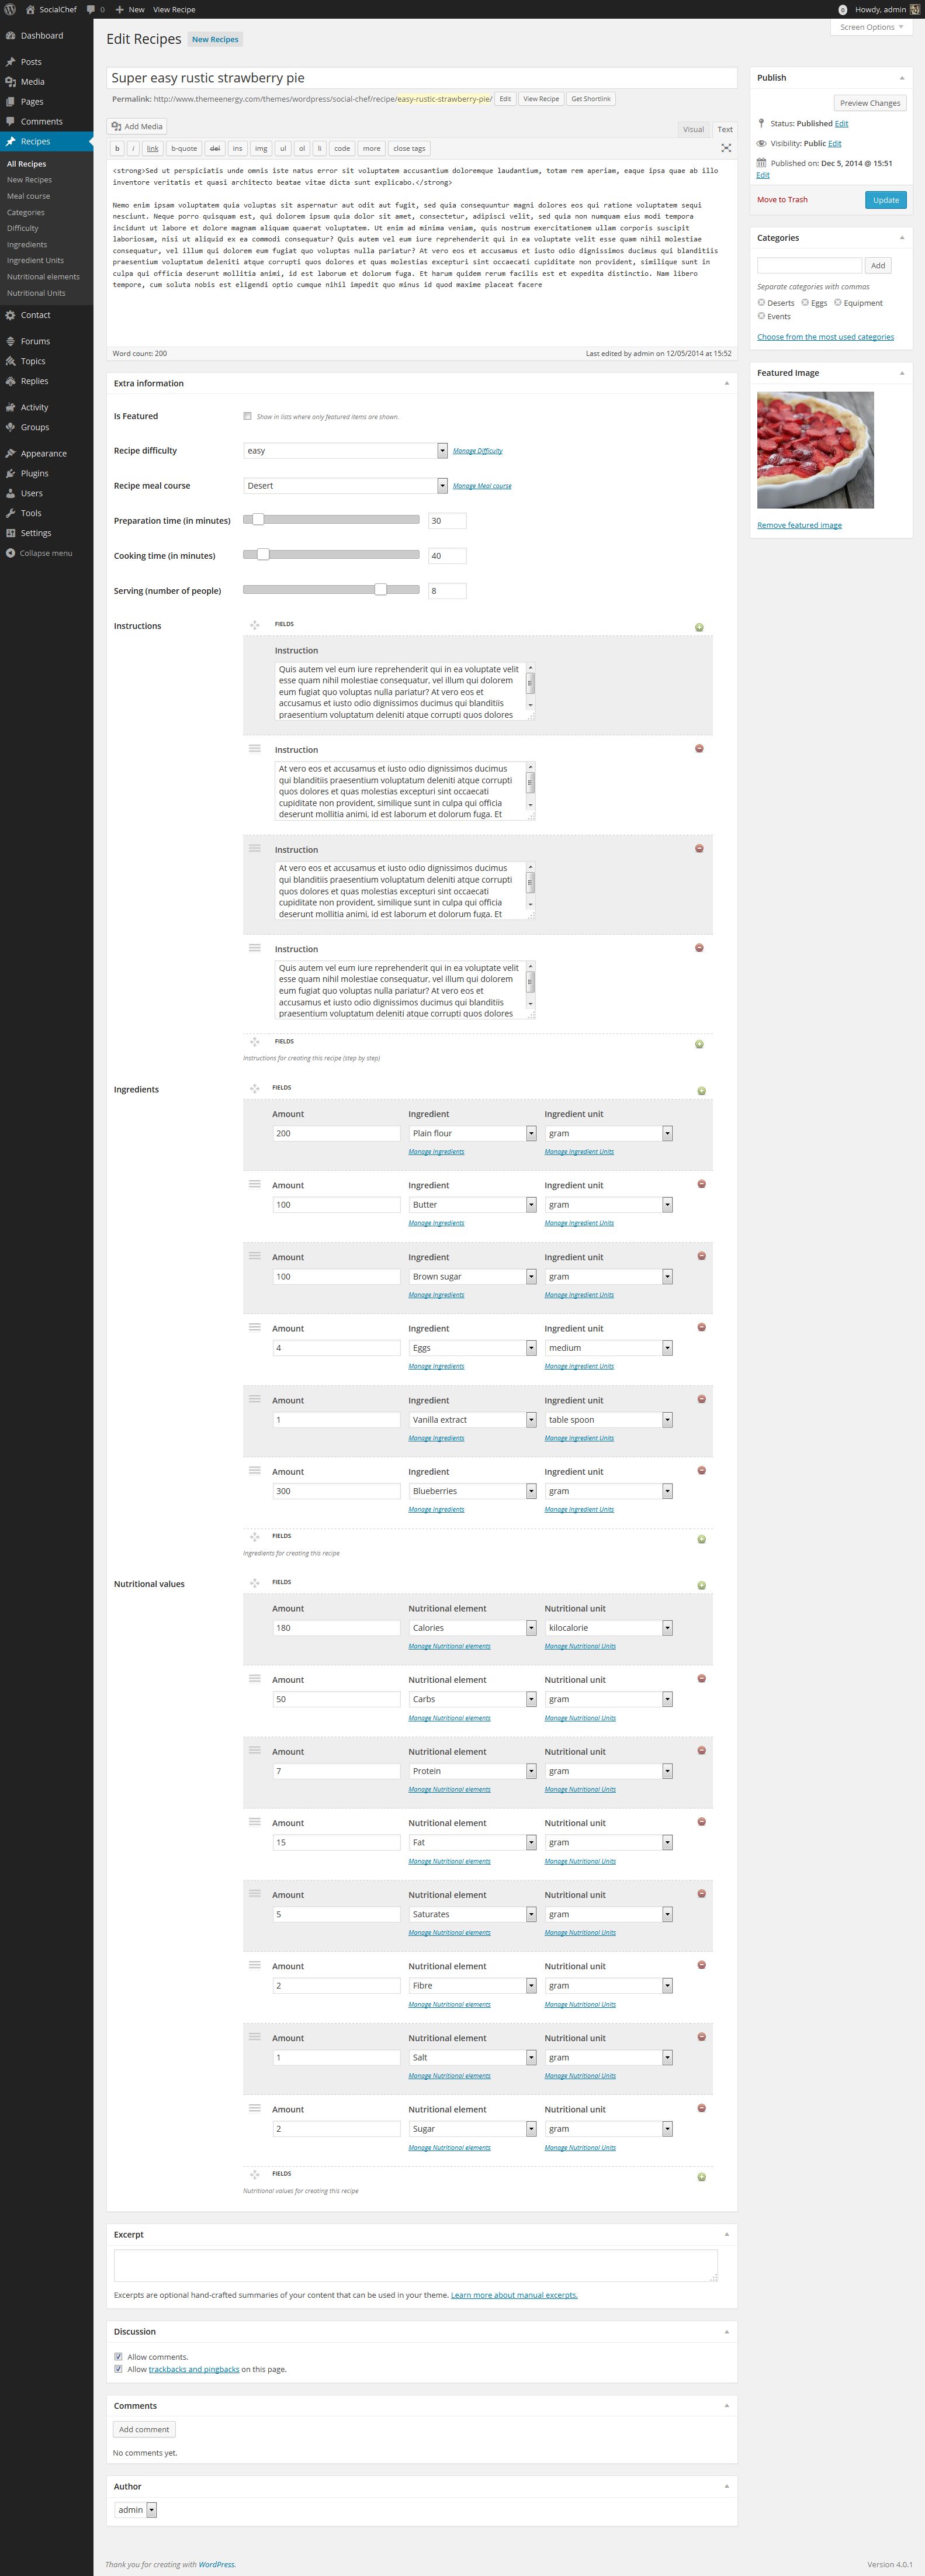
Now that you have created categories, ingredients, nutritional elements, meal courses and difficulties, you can proceed to the Recipes > New Recipe screen or use the front end submit recipe page template to create new recipes.
When creating a new recipe you must specify it's title, content, at least one instruction, at least one ingredient and a featured image.
SocialChef is ready for localization via .po/.mo files, and works with the WPML plugin.
If you are not familiar with translating Wordpress themes, we recommend you read this codex page: http://codex.wordpress.org/Translating_WordPress
Before you do anything else: Go to WP Admin > Settings > General, scroll to the bottom of the screen and select your website language from the Site language field.
To download POEdit, follow this link.
Step 1: Open the default.pot in POEdit by selecting the Create New Translation button. Once it has loaded, You will find all English text strings in the left column called Source Text. Once you add translations, they will show up in the right column under Translation.
Step 2: Choose the line you want to translate. In the lower right section of the POEdit window, you will find a text area where you can add the correct translation.
Step 3: When you are done translating all the needed text strings into your desired language, save the file with your language code, for example, if you were translating to the Deutsch language, you would save it as de_DE.po. The corresponding .mo file will be automatically created.
SocialChef theme was tested with WPML plugin and is fully compatible. If you want to have multilingual website, this is the best way to do it. If you want to use this plugin, you must purchase it first and then install into your wordpress installation. If you’ve purchased WPML and have any questions or issues, please check the links below.
WPML Documentation: A detailed guide for using the WPML plugin
WPML Suport Forum: If you bought WPML then you get free support from their amazing team
Translating Widgets: Tutorial recommended by wpml team for translating widgets
The SocialChef WordPress/BuddyPress theme supports BuddyPress out of the box. You must simply install the BuddyPress plugin from the WordPress.org repository. We have made this easy for you too by utilizing the TGM plugin activation plugin which provides you with an option to install the BuddyPress plugin as soon as you activate our theme.
To learn more about BuddyPress, please visit the BuddyPress codex.
The SocialChef WordPress/BuddyPress theme supports BBPress out of the box. You must simply install the BBPress plugin from the WordPress.org repository. We have made this easy for you too by utilizing the TGM plugin activation plugin which provides you with an option to install the BBPress plugin as soon as you activate our theme.
To learn more about BBPress, please visit the BBPress codex.
Our theme is compatible with the GD Rating system plugin for rating functionality.
Please follow these steps to set the plugin up:
Step 1: follow prompts in admin to install and activate GD Rating System plugin.
Step 2: go to Rating System > Rules, in Add new Rule, from Item type select Recipes and click Override.
Step 3: in resulting screen make sure Enabled is checked under Rule control, and also under Users allowed to vote make sure Author is also checked. Click Save settings.
To prevent rating appearing for various post types besides recipes, and also for comments, do the following:
Step 4: go to Rating System > Settings and under Rating Addons click Settings Panel under Posts and Also under Comments and in both cases selected the Hide option under all Location dropdowns you see.
WooCommerce is the most popular WordPress eCommerce plugin. And it's available for free. Packed full of features, perfectly integrated into your self-hosted WordPress website. The SocialChef WordPress/BuddyPress theme supports WooCommerce out of the box. You must simply install the WooCommerce plugin from the WordPress.org repository.
To learn more about WooCommerce, please visit the WooCommerce website.
There are 2300 custom font icons included. HTML looks like this:
Class icon should always be included. The other css class, that defines which icon is used, is optional. A list of all available icons, with respective css classes, can be found inside the /fonts/font-preview/demo.html file. Simply open the file in your browser for viewing the icons.
The following steps outline how you should upgrade the SocialChef theme:
1. Put your WordPress website into maintenance mode. You can do so either
a) via plugin: http://wordpress.org/plugins/wp-maintenance-mode/ or
b) by uploading an empty file called .maintenance to the root folder (where WordPress is installed) like described here: smileyhappycoder.co.uk/wordpress/how-to-put-wordpress-into-maintenance-mode-manually/
2. Delete all files and directories inside SocialChef theme folder (usually this is wp-content/themes/SocialChef)
3. Unzip new zip file and upload all files and directories from zip to server into above mentioned SocialChef theme directory.
4. Put site out of maintenance mode (either delete .maintenance file or switch off maintenance via plugin if plugin was used).
5. Browse to admin and check that everything is ok.
6. Check theme settings - switch off/on new features etc.
We recommend you create a child theme to customize html, css, js and php of the SocialChef WP/BP Theme. This will allow you to overwrite the parent (original) theme with upgrades whenever upgrades are released and NOT lose any custom code you have written.
There is also a ready to use child theme provided and can be found in the ChildTheme folder.
Step 1: Create a directory in your themes directory to hold the child theme. The theme directory is wp-content/themes. Call the child theme directory something like SocialChef-child to differentiate it from the original.
Step 2: In the child theme directory, create a file called style.css. This is the only file required to make a child theme. The style sheet must start with the following lines:
			/*
			 Theme Name:     SocialChefChild
			 Theme URI:      http://www.mydomain.com
			 Description:    Social Chef Child Theme
			 Author:         John Doe
			 Author URI:     http://example.com
			 Template:       SocialChef
			 Version:        1.0.0
			*/

			/* =Theme customization starts here
			-------------------------------------------------------------- */
You can change each of the above lines to suit your theme. The only required lines are the Theme Name, and the Template. Template is the directory name of the parent theme.
Note: The child theme's stylesheet is included after the parent theme's and styles will therefore override those in the parent theme's stylesheet.
Log in to your site's dashboard, and go to Appearance > Themes. You will see your child theme listed there. Click Activate.
You can now override the SocialChef styles without worry of them being overridden when you upgrade. You can also override specific php template files. To learn more about child themes please visit the WordPress child theme codex.